
Customize a 3D-printed insert with an AI coding agent.
Give an AI coding agent a downloaded STL and a few measurements, and it cuts a custom cavity. We handed Codex a StashGrid Pelican 1170 insert and the size of a slim drink can. About 40 minutes later it returned a checked, watertight STL with a 43 mm-deep cradle. Cylinders and boxes are the easy wins; precise outlines still come from the gear library.
- Agent
- Codex
- Time
- ~40 min
- Cavity
- 58 × 146 mm
- Depth
- 43 mm
- Lid
- Closes
When the gear library doesn’t have it
StashGrid builds pockets from measured gear profiles (pistols, magazines, lights and the rest), with the outlines that matter, like a trigger guard or a magazine’s baseplate. Most cases still have room left over, and what you want in it isn’t always in the library.
Ours was an airsoft Glock 19 insert for a Pelican 1170 with the right-hand end open. We wanted a drink can there. A can is a cylinder, so it’s easy to describe in numbers and easy to check. A good first job for an agent.
The brief
We exported the insert from the designer and gave Codex the STL with a short brief:
- Add a cavity for a can 58 mm across and 146 mm long, measured from the can itself.
- Use the open space at the right-hand end.
- Stay clear of the case’s hinges and the insert’s outer edge.
- Give it a rounded floor, not a flat rectangular pocket.
- Show a few rendered angles when it is done.
The numbers came from us. Don’t let an agent guess the size of anything you plan to put in the pocket.
How the agent cut it
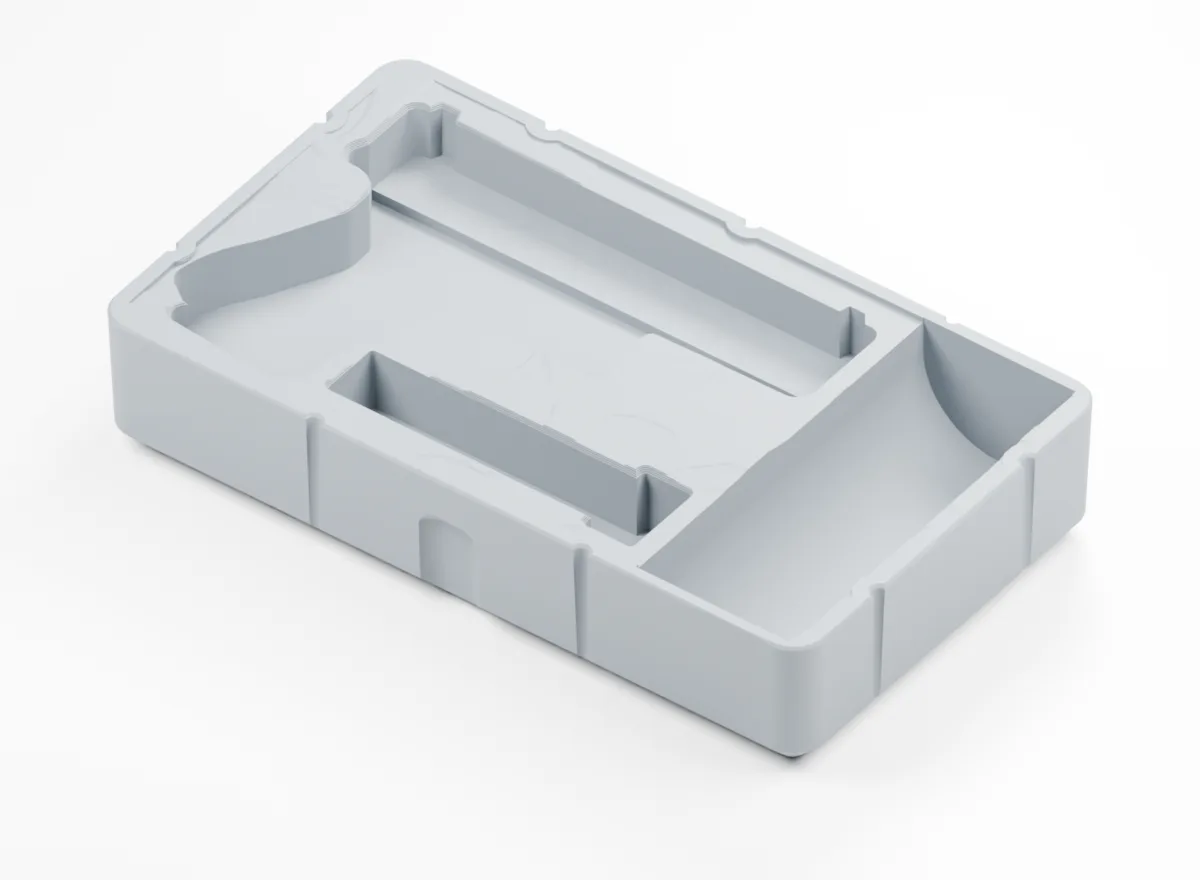
Codex ran on GPT-6 Astra in the Codex desktop app. It set up Python with trimesh and Manifold (the same geometry kernel the StashGrid designer runs on), modeled the can as a cylinder lying on its side and subtracted it from the insert.
Blender didn’t cut anything. Codex used the Blender command line to render the finished STL, so we could look at it before spending filament.
The checks that matter
A cut can look right and still fail in the slicer, so Codex checked it the way a printer sees it:
- One watertight solid. Reloaded from the exported file, not trusted from memory.
- Same outside size. It still fits the case it was designed for.
- Existing pockets untouched. Compared across 160 slices through the insert.
- Wall thickness. About 2.5 mm at the thinnest point.
That’s below the 5 mm margin the designer normally keeps, and Codex flagged it rather than burying it. Our print holds the can without complaint. If you want more margin, put a minimum wall in the brief.
Going deeper
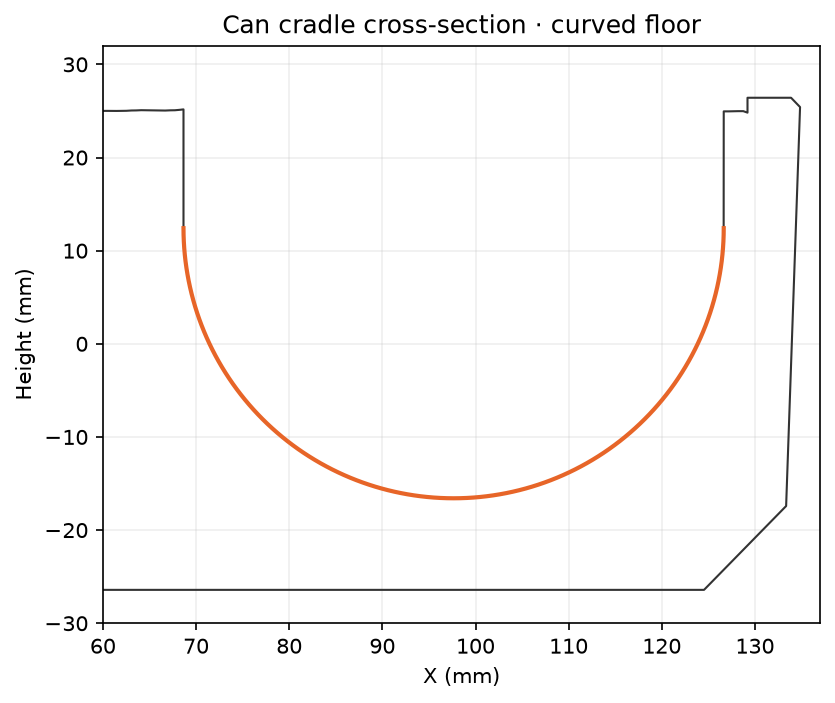
The first cut was 29 mm deep, half the can. That would have left 29 mm of can standing proud of the insert, likely pressing on the lid, so we asked for deeper.
Codex rebuilt the cavity with a rounded floor and straight upper walls, so the can lifts straight out. At 44 mm, the insert’s tapered underside kept only 1.8 mm of material. At 48 mm the cut broke through. It settled on 43 mm, with about 2.5 mm underneath.
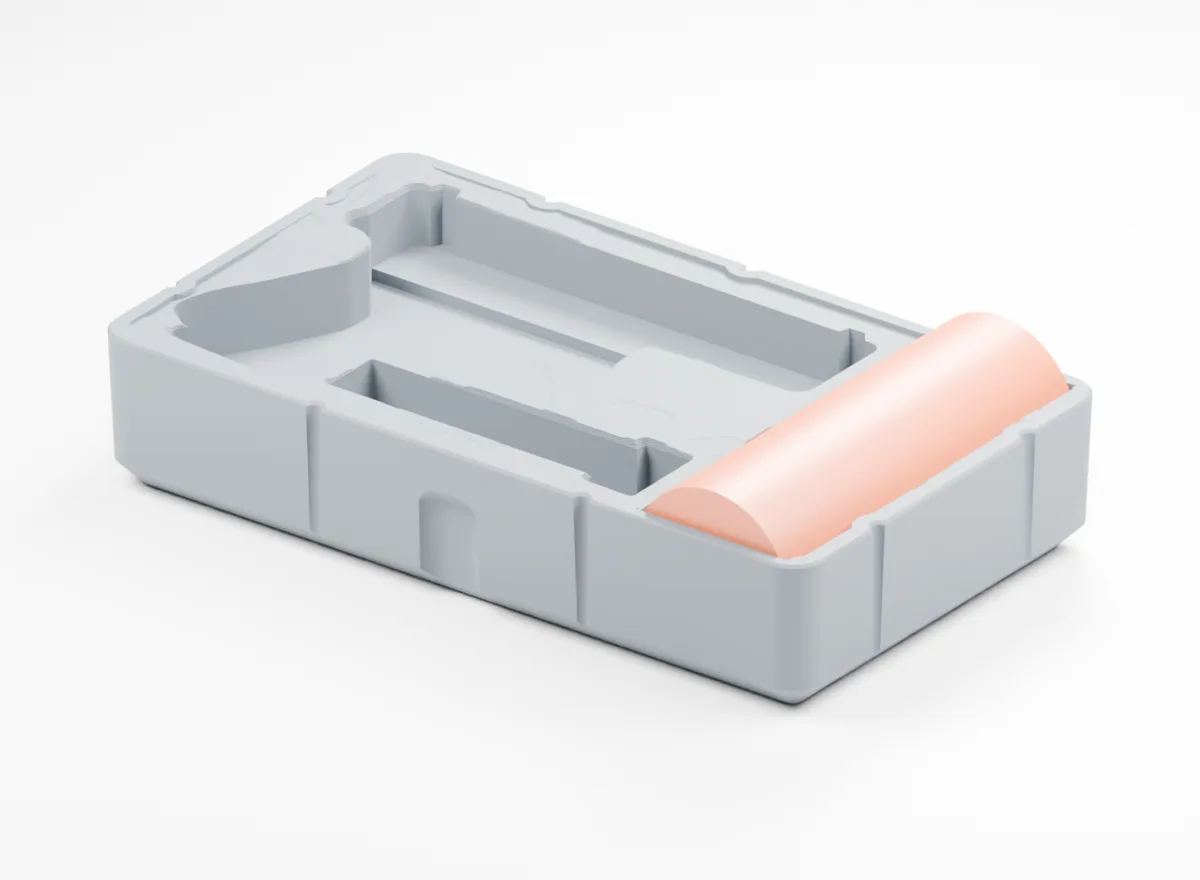
The can now sits 15 mm proud. Codex couldn’t check the lid (the STL holds the insert, not the case), so we closed it ourselves. It shut completely against the lid foam.
The printed result
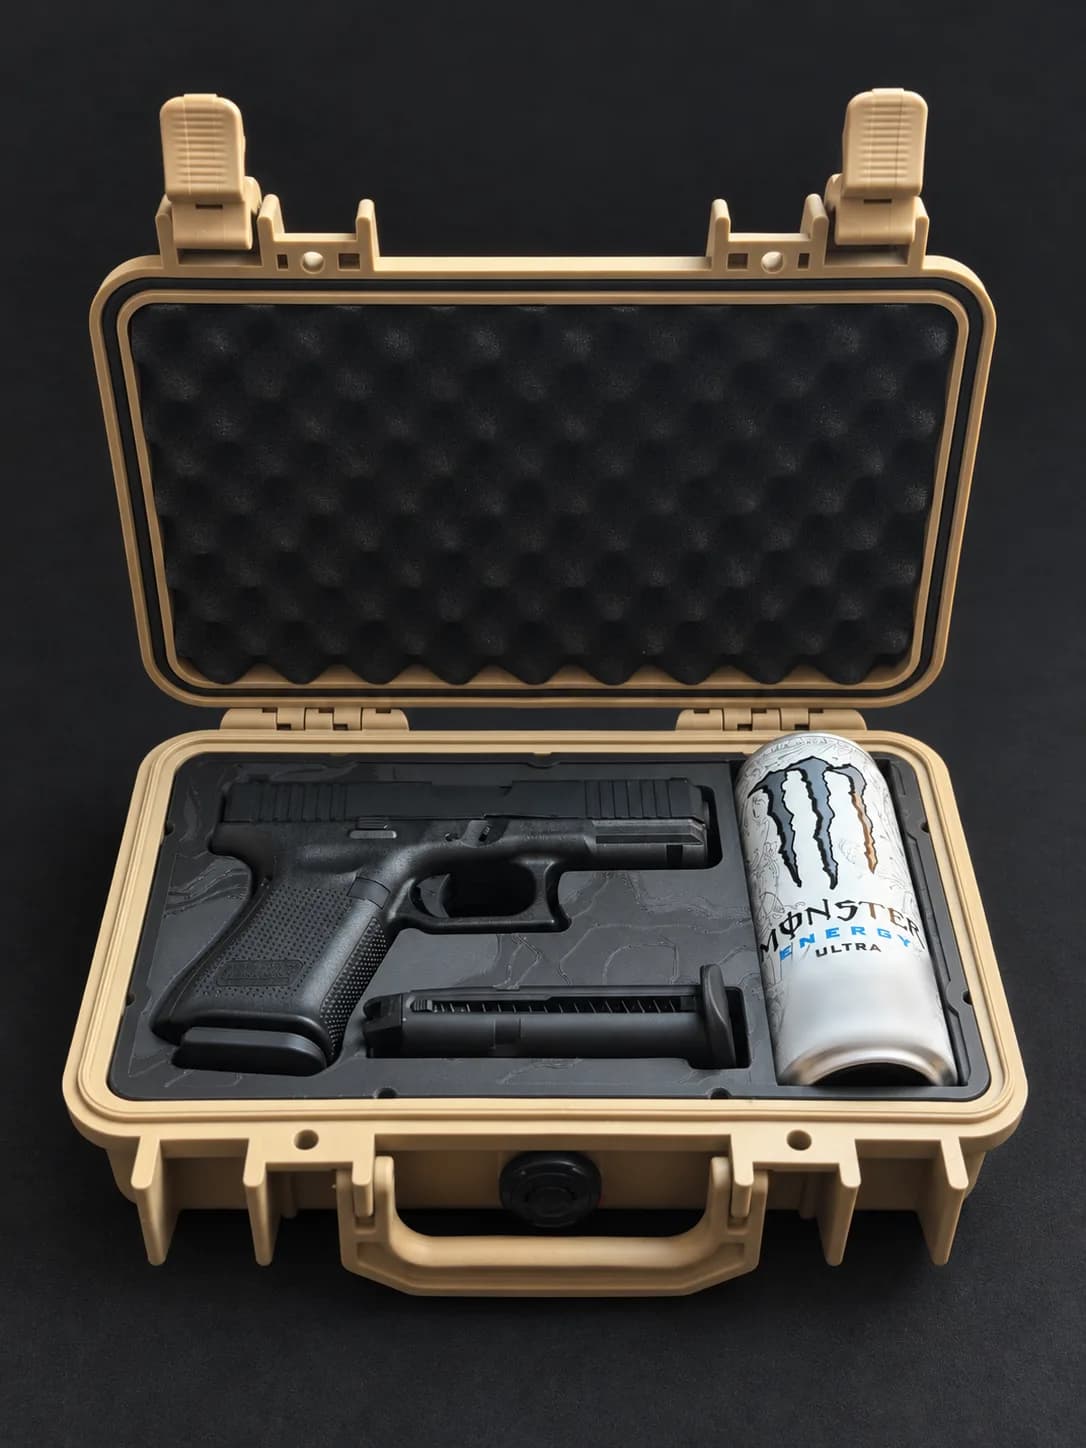
We printed it on a Bambu Lab H2C. Any printer that handles the rest of the insert handles the cradle too, and on a smaller plate you split it as the printing guide describes.
Write your own brief
Give the agent what a machinist would ask for:
- The file. The STL straight from the designer, unscaled.
- The object’s size. Measured, in millimeters, with any allowance you want added.
- Where it goes. Name the open area, and what it must stay clear of.
- The shape of the floor. Rounded, flat, or with a finger notch to lift it out.
- The checks. One watertight solid, unchanged outside size, untouched pockets, and the thinnest wall.
- Pictures. Renders or a cross-section, before you spend filament.
Then print a small test section through the new pocket before committing to the whole insert.
Before you start
- Edits live in the STL, not the design. Re-export from the designer and the custom cavity is gone, so keep the brief and run it again.
- Describe shapes in numbers. Cylinders and boxes are easy. A pistol’s outline is why the gear library exists.
- The agent can’t see the case. Lid clearance and hinge travel are on you.
- Name your minimum wall. Otherwise the agent decides how thin is thin enough.
Questions
Does this work with Claude Code?
It should. Nothing here is specific to Codex: any agent that can run Python and install packages takes the same steps, Claude Code included. This run happened to be Codex, and we haven’t timed Claude Code on it yet. We’ll see.
Do I need Blender?
No. The cut and the checks are Python. Blender only made the preview renders, and a cross-section plot does most of the same job.
Can the agent add gear that isn’t in the library?
Anything you can describe precisely in numbers. For a pistol or a light, ask us to add the profile.
Which case was this?
The Pelican 1170, and the same file fits the MEIJIA MJ1170. The approach works on an insert for any supported case: the Apache 3800 and the Glock factory case export STLs the same way.
Start from a real insert.
Lay out your gear in the designer, download the STL, then hand it to your agent.
Design your insert